

What Are Microgreens? Easy Tips to Grow Them at Home!
By Hydro Experts | 8 October 2021
.jpg)
Microgreens are simply greens that are harvested while they’re young, small, and tender (micro) rather than mature or larger (macro). Because they’re harvested young, microgreens retain the nutrients of their older counterparts without any of the bitterness you might find in a mature leafy green, making them an excellent addition to salads, sandwiches, smoothies, and more.
What are Microgreens?
If you’re ready to start growing microgreens, you probably have a few questions about what they are. Microgreens are simply small, edible plants that are harvested young when they’re still very small. Compared with vegetables and herbs that are picked before maturity, microgreens are usually picked in their second or third week of growth, when they're around 2–4 weeks old. They can be eaten raw in salads or incorporated into sandwiches and other dishes.
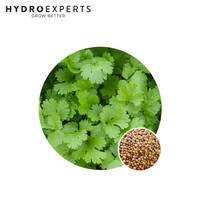
You can also use them as an ingredient or garnish for soup, rice dishes, dips and stir-fries. Microgreens come in hundreds of varieties ranging from spicy arugula to dark purple broccoli sprouts. But not all greens lend themselves equally well to microgreens—the best candidates tend to be tender greens like lettuce, spinach and kale.
What you need to grow microgreens at home
If you want to grow microgreens, there are a few things you’ll need. First, some space: Microgreens require little more than a flat surface and sunlight—they don’t take up much room.
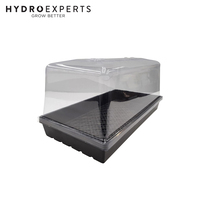
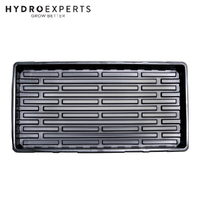
Next, some dirt: You can buy potting soil or compost from any garden store and use it as-is or mix it with nutrients. You will also need some growing trays. They provide an excellent growing environment for microgreens and look cute on your countertop.
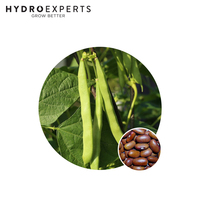
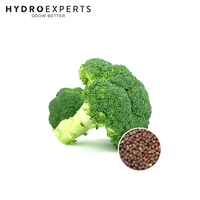
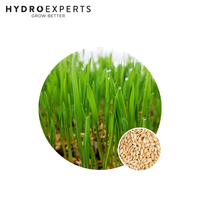
And finally, seeds: As for seeds, you have plenty of options here! Nettles produce an interesting salty flavour that complements other greens nicely. Radish is quite spicy but has a nice crunch that works well with buttery lettuce varieties. Broccoli tastes delicious in salads, while tomato is something of an acquired taste for some greens, so consider pairing it with basil or mint leaves if its flavour is new to you. To get started on growing microgreens today, pick out some seed varieties, grab your supplies and get planting!
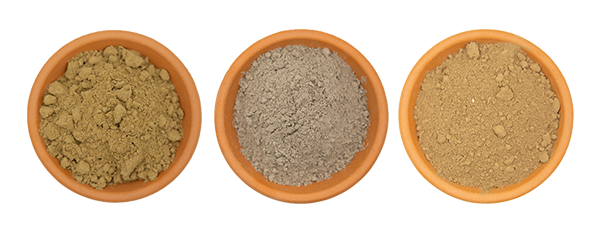
Growing mediums for Microgreens
There are many different growing mediums for microgreens. Some gardeners use soil as a growing medium, while others prefer coir, perlite or vermiculite.
Coco Coir is made from coconut husks and is becoming more and more popular with home gardeners as an alternative to peat moss and other non-organic growing media. However, if you do use coir as a growing medium, be sure it’s fully composted before using it because un-composted coir can contain substances harmful to plants.
Perlite is a natural mineral that makes an excellent growing medium for microgreens. Perlite provides increased aeration which allows roots to spread freely and access moisture in both dry and wet soils.
Vermiculite is another organic grow media commonly used in the commercial farming of microgreens. It is a lightweight mixture of mined minerals combined with heat-treated mica flakes, which create tiny air pockets. These air pockets increase drainage which prevents waterlogging of the soil while still retaining moisture levels ideal for growing microgreens. Also, vermiculite has an insulating quality that helps reduce extremes in temperature, keeping microgreens at optimum temperatures.
Coir, perlite and vermiculite are all sterile when packaged and make excellent choices for container gardening. A handful of your favourite soil can be added to containers with these media when planting if you choose not to use an exclusively growing medium.
Be sure any mix you use drains well, or you’ll end up with soggy roots that won’t thrive, no matter how good your mix is otherwise.

Steps for starting your own microgreen garden
To grow microgreens at home, you first need to decide what kind of seeds you want to use. Try different varieties of seeds to see which produce your favourite microgreens!
With your seeds in hand (and knowing how many weeks it takes for them to germinate), all you need is some sort of container or tray so that they have enough room for growth without crowding one another out.
Depending on the variety of seed you used, they’ll all germinate differently: some may sprout within days of being planted, while others might take a week or two before appearing.
The final step? Water, light and lots of love! Your microgreens are almost ready to eat
When it comes time to water your microgreen garden, do so using a watering can with a fine-mesh spray nozzle. Using more water than necessary will cause root rot and leech nutrients from the soil surrounding your plants.
Be careful not to overwater or underwater your greens either—the key is finding a balance that works for you!
Growing microgreens hydroponically
The traditional method for growing microgreens is to use a soil-based growing medium. However, they can also be grown hydroponically (without soil).
Microgreens, like any young plant, like lots of water and good drainage. If you're growing them in soil, make sure you're not overwatering them; they should be watered thoroughly and then allowed to dry out about 30 minutes before watering again. Overwatering can cause root rot that will lead to the death of your microgreen plants.
It's very important that you provide good air circulation around your microgreen seedlings while they are still small. You can move their pot or tray from time to time so fresh air circulates all around them. This prevents damping off, which occurs when seedlings get too much humidity and moisture, and their stems begin to decay. When microgreens become larger, they need less frequent watering until harvest time, when they need more water.
FAQs
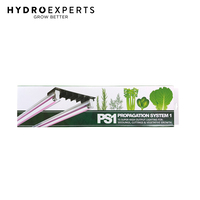
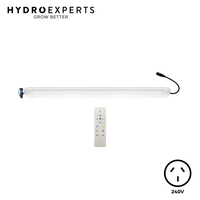
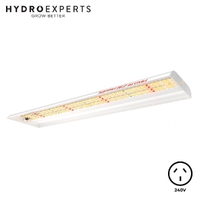
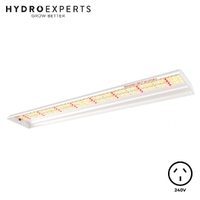
Microgreens need 12–16 hours of bright light daily. A brightly lit area in your home, such as a windowsill, can work, but for consistent growth, use LED or fluorescent grow lights placed about 12–18 inches above the tray. You need to make sure the spot has good airflow to prevent any mould from growing.
It depends on what you've chosen to grow. If you've planted broccoli, radish or mustard, they usually grow really quickly in the span of 7-10 days. On the slower side, it usually takes 16-25 days if you've gone with beet or basil.
Firstly, you need to make up your mind on what you really want to grow in your garden. Then, spread your seeds of choice in a shallow, well-drained tray and mist them daily. Don't forget to give them light as well. Most seeds start to grow sprouts within 3-5 days.
The ideal time to harvest your microgreens is when they're 1-3 inches tall and have grown leaves. You may use scissors or a sharp knife to cut just above the soil line.
Most do not regrow after harvest. Peas and a few larger-seed varieties may regrow once. It's usually advised to start fresh in a new tray.