

How to Design Perfect Indoor Grow Tent Setup in Australia
By Hydro Experts | 10 May 2026
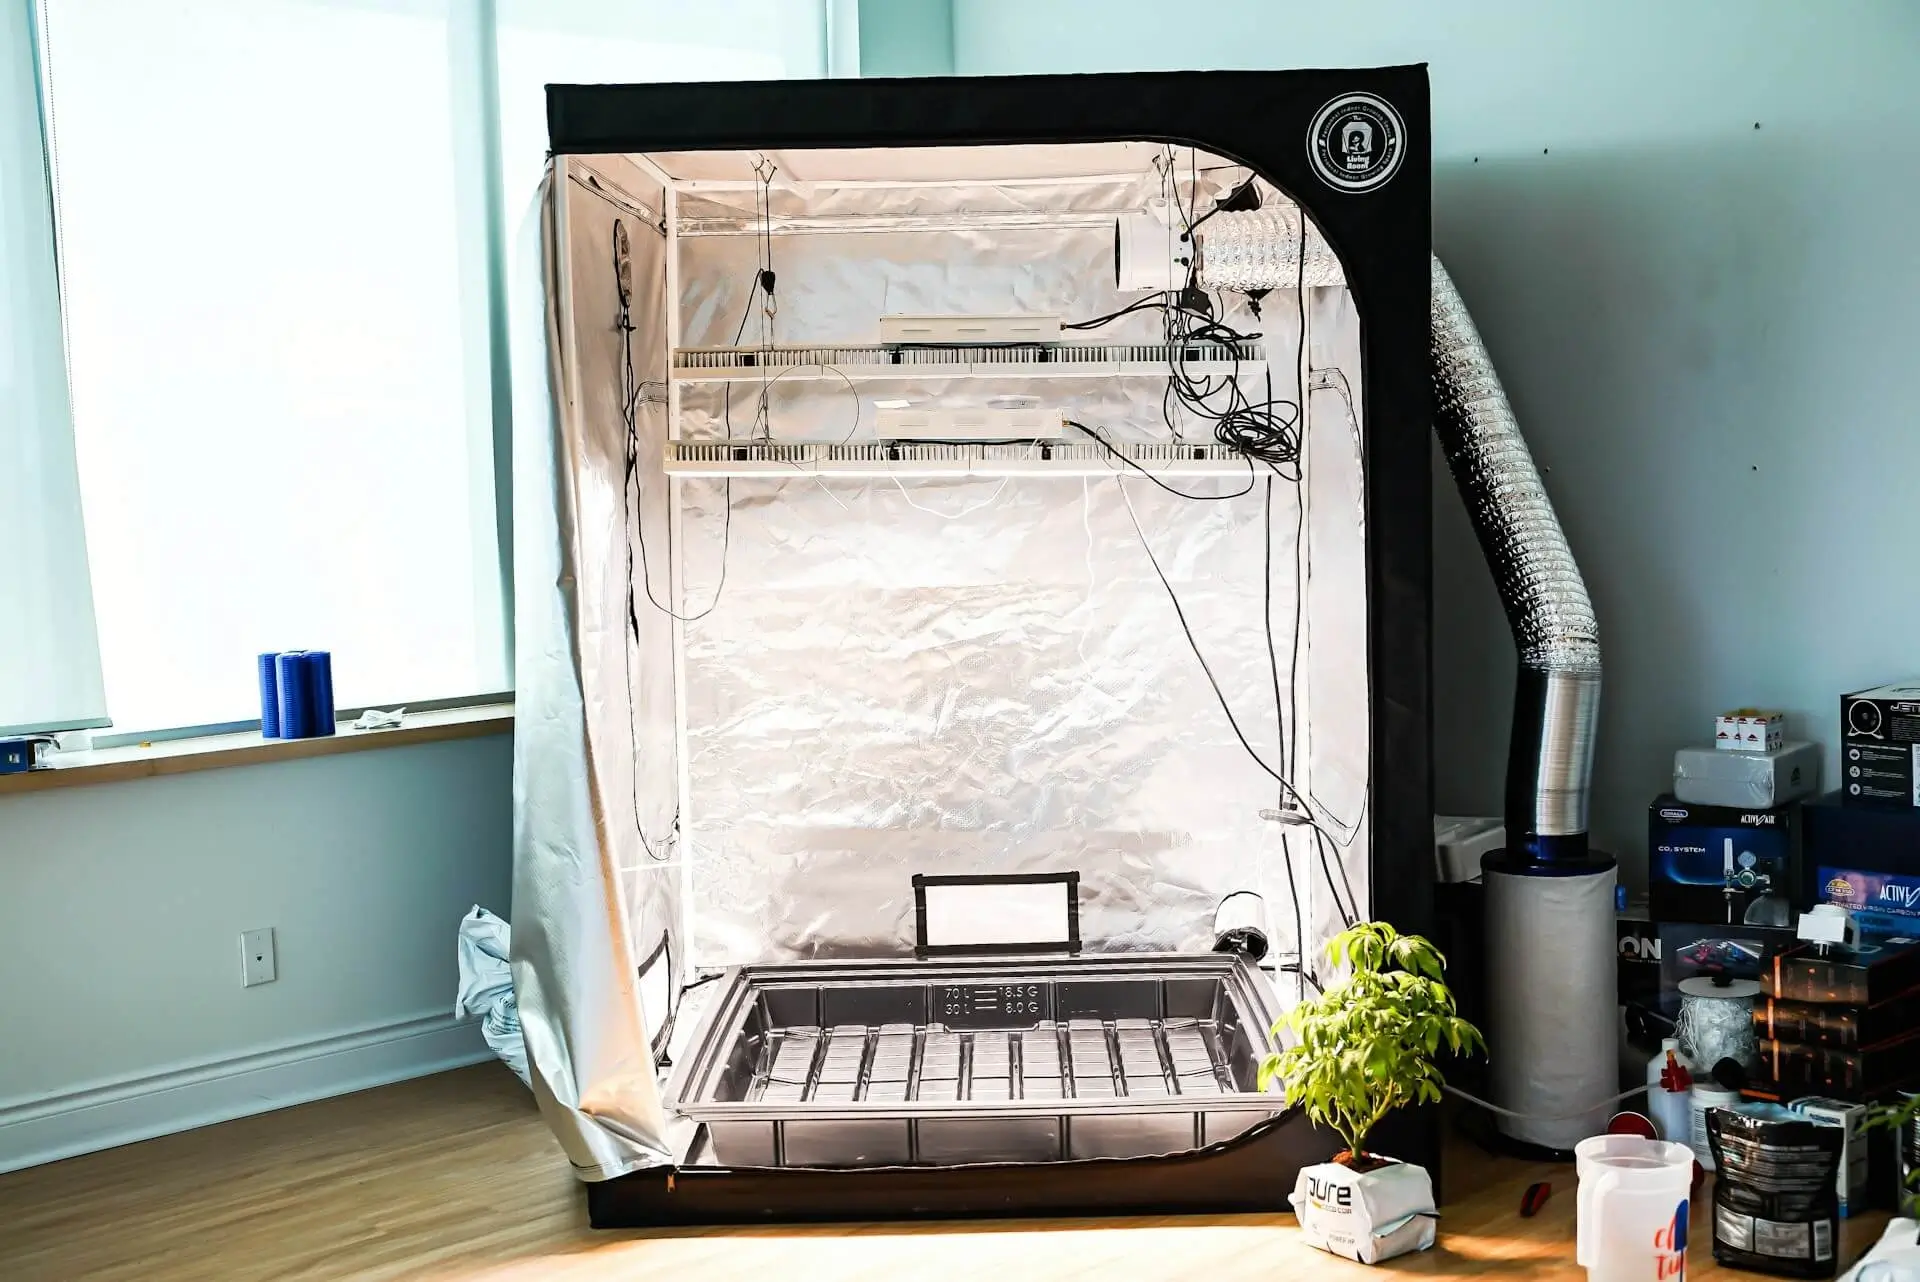
A grow tent gives you a contained, controllable environment inside an existing space. The walls reflect light back onto plants, the structure supports equipment, and the sealed design lets you manage temperature, humidity, and airflow as independent variables rather than fighting whatever the surrounding room happens to be doing. Getting the setup right from the start saves significant remediation work later.
A tent with undersized ventilation, poorly positioned lights, or inadequate reflective coverage will underperform regardless of how well everything else is managed. This guide covers the decisions and sequence that produce a functional, efficient indoor hydroponic grow room, from an empty tent to a high-producing setup.
How to Choose the Right Tent Size for Your Indoor Grow
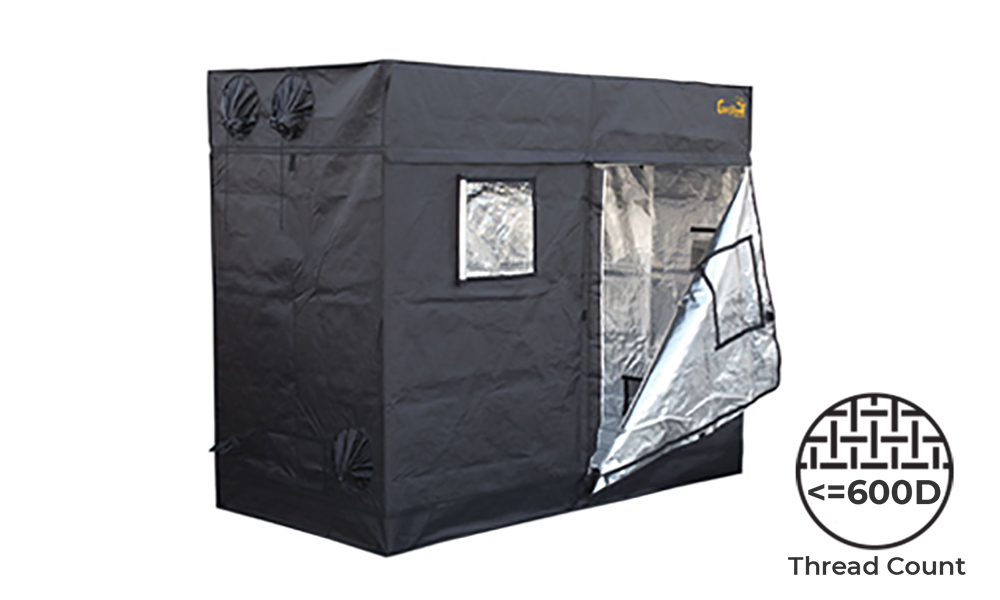
Tent size determines everything downstream. The number of plants, the light fixture you can run, the ventilation capacity required, and the physical working space you have during maintenance all follow from the tent's dimensions. Getting this decision right before purchasing any other equipment prevents the costly cascade of mismatched components that follows from starting with the wrong footprint.
Starting Point: The 1.2 x 1.2 Metre Tent
For a first setup, the most common starting point is a 1.2 x 1.2 metre footprint with a 2 metre height. This footprint accommodates a 600W HPS or a mid-range LED grow light fixture, supports four to six plants in a soil or hydroponic system, and fits a standard inline fan and carbon filter combination without the ducting becoming a geometry problem. It is also a size where the physics of airflow, light distribution, and heat management are manageable without specialist design knowledge.
Larger Tents: 1.5 x 1.5 Metres and Above
Larger tents introduce more complexity. Light coverage needs to be planned more carefully to avoid dark corners. Ventilation requires higher-capacity equipment, and the structural load of multiple lights, a carbon filter, and ducting tests the tent's hanging capacity. Manufacturers specify the maximum hanging weight for each tent model. Check that figure before finalising equipment selection to avoid overloading the frame.
Tent Height and Plant Training Considerations
Tents shorter than 1.8 metres restrict plant height and limit the distance between the light and the canopy. This matters more with HPS than LED, where minimum hanging distance is determined by heat output rather than light intensity alone. If you plan to grow tall strains or run a Screen of Green (ScrOG) setup with significant vertical growth, tent height is a constraint that needs resolving at the selection stage rather than after plants are already in the ground.
Reflective Lining for Indoor Grow Tents: What It Does and What to Look For
The interior lining of a quality grow tent is coated with a reflective material, typically Mylar or a similar foil-based surface, that redirects light back toward the plant canopy rather than absorbing it into the walls. In a well-designed tent, the reflective lining can recover 20 to 30 percent of light that would otherwise be lost, effectively increasing the usable light output of the fixture without increasing wattage or electricity draw.
Diamond Mylar vs Flat Mylar
Reflectivity varies by material and surface texture. Diamond Mylar, which has an embossed pattern that scatters light in multiple directions rather than creating a single specular reflection, is the standard in quality tents. Flat Mylar reflects at a higher peak but creates hotspots where reflected beams concentrate. Diamond or matte surfaces distribute light more evenly across the canopy, which translates directly into more uniform growth across all plant sites.
Seams, Corners, and Light Leaks
When evaluating a tent, check the lining at the seams and corners. These are the points where reflective coverage is most likely to be compromised by poor construction. A seam that folds the lining back on itself creates a strip of non-reflective material along the tent wall. On a large tent with multiple seams, this adds up. Quality tent manufacturers maintain reflective coverage through seam construction rather than sacrificing it for ease of assembly.
Light leaks are a related concern, particularly for growers running a light schedule that requires a true dark period. Any gap in the tent fabric, around zips, cable ports, or ventilation openings, admits light during the dark phase. Inspect the tent before committing equipment to it by running the lights and checking the exterior in a dark room. Gaps are visible immediately and most are sealed with gaffer tape, but a tent with multiple structural light leaks is a quality indicator worth noting before purchase.
Lighting Setup for Indoor Grow Tents: Selection, Positioning, and Coverage
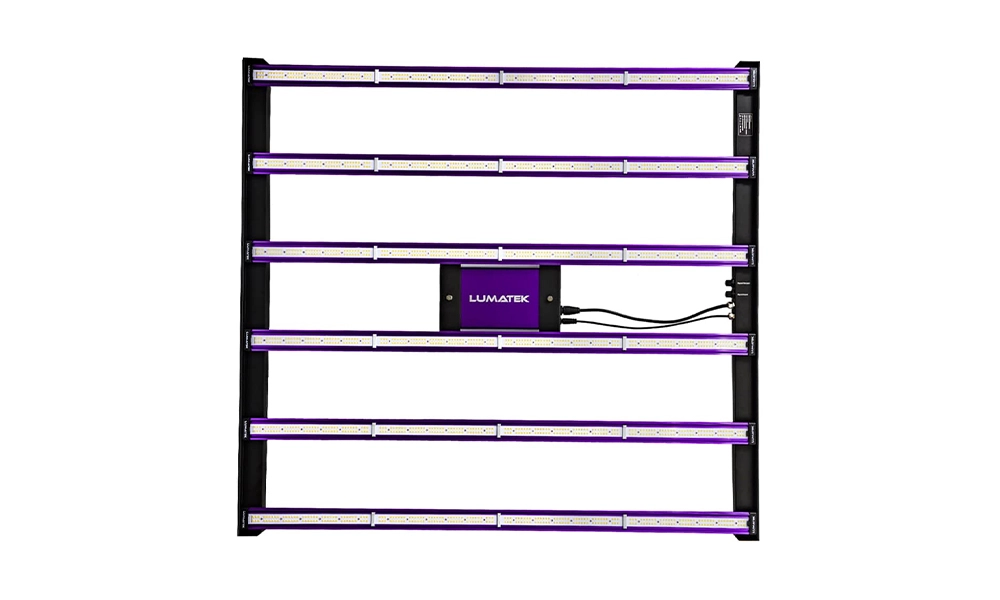
Light is the primary input in a grow tent. Everything else in the setup exists to manage the conditions that allow plants to use light effectively. Selecting the wrong fixture or positioning it incorrectly limits the potential of the entire system regardless of how well every other variable is managed.
HPS vs LED: Choosing the Right Technology
High-pressure sodium (HPS) lighting has been the standard for indoor cultivation for decades. A 600W HPS produces a broad spectrum with high red content that drives flowering effectively, and the technology is well understood. The drawbacks are heat output and energy consumption. A 600W HPS in a 1.2 x 1.2 metre tent will run the tent temperature well above ambient and requires an extraction system sized to manage that heat load continuously.
LED grow light fixtures have displaced HPS in many setups over the last several years. Quality full-spectrum LED panels produce comparable yields at 30 to 40 per cent lower wattage, generate significantly less heat, and have longer service lives than HPS bulbs. The upfront cost of a quality LED is higher, but the operating cost advantage and reduced ventilation demand make the total cost of ownership competitive over two to three grow cycles. For Australian conditions where summer ambient temperatures already stress indoor grow environments, the reduced heat output of quality LED is a practical advantage beyond energy efficiency alone.
Reading LED Efficiency: What μmol/J Means
The LED market contains a wide range of quality levels. Fixture efficiency is measured in micromoles per joule (μmol/J). A quality fixture achieves 2.0 μmol/J or above. Fixtures marketed on wattage claims without efficiency data should be assessed carefully. A 1000W equivalent LED drawing 200W of actual power at 1.5 μmol/J delivers less usable light to the canopy than a 240W fixture at 2.2 μmol/J. Lumatek and SANlight LED systems are among the fixtures that publish verified efficiency data and consistently deliver at or above the 2.0 μmol/J threshold.
Hanging Height and Light Distribution
Hanging height determines both the light intensity at the canopy and the coverage area the fixture illuminates. Manufacturers specify a recommended hanging range for each fixture. At the minimum height, intensity is highest, but coverage area narrows, and the risk of light stress on the uppermost leaves increases. At the maximum height, coverage broadens, but intensity at the canopy falls below optimal levels for the peripheral zones. For a 1.2 x 1.2 metre tent, a single fixture centred over the canopy is the standard configuration. Check the manufacturer's coverage data for your specific fixture to confirm that the corners of the tent receive adequate light at the recommended hanging height.
Ventilation for Indoor Grow Tent Setup: Extraction, Circulation, and Intake
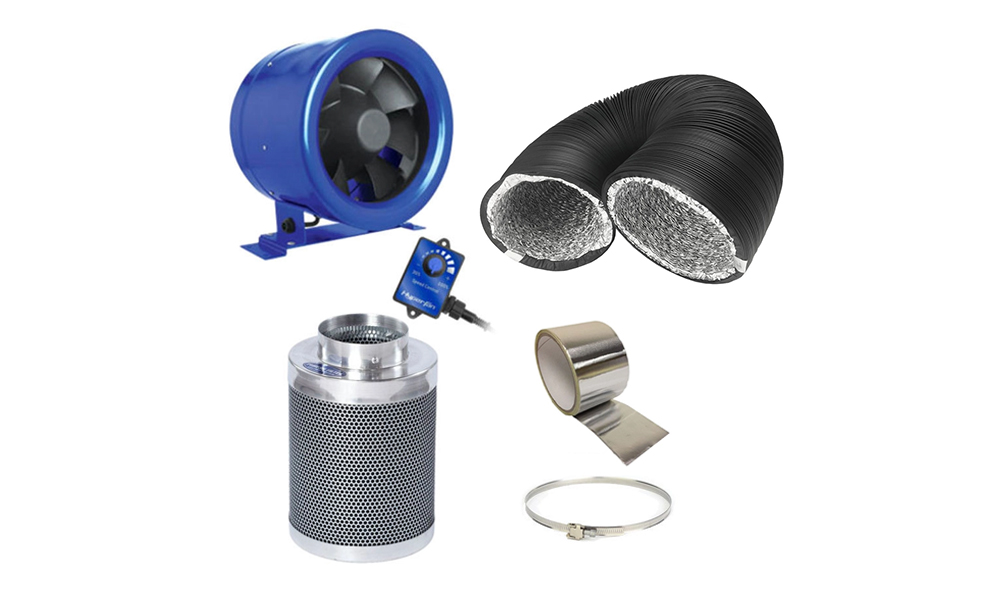
Ventilation in a grow tent operates on the same principles as a larger grow room, but within tighter physical constraints. The inline fan, carbon filter, and ducting need to fit within the tent's hanging capacity and internal volume without obstructing light or plant access.
Sizing the Inline Fan
Calculate the tent volume in cubic metres and multiply by 60 for the minimum CMH rating required to exchange the air once per minute. Add 25 to 30 per cent for resistance from the carbon filter and ducting. A 1.2 x 1.2 x 2.0 metre tent has a volume of 2.88 cubic metres, requiring a fan rated for at least 175 CMH before accounting for resistance. A 200 to 250 CMH inline fan with a speed controller is the practical specification for this size tent. The carbon filter mounts inside the tent at the highest point, connected to the inline fan via a short duct run, taking advantage of heat rising to ensure the hottest air exits first.
Circulation Fans and Passive Intake
A small oscillating or clip-on circulation fan inside the tent moves air across the canopy and through the plant structure. This reduces humidity pockets in the canopy, strengthens stems through mechanical stimulation, and ensures CO2 reaches leaf surfaces rather than depleting in still air layers. One or two small circulation fans are sufficient for a 1.2 x 1.2 metre tent.
Passive intake through mesh ports at the base of the tent is adequate for most setups when the extraction fan creates sufficient negative pressure. Intake air should enter at the lowest point in the tent, opposite the extraction point, to create a diagonal airflow path that sweeps the full internal volume. If passive intake proves insufficient, a small secondary inline fan on the intake port draws fresh air in actively.
How to Select a Hydroponic System for Indoor Tent Grows
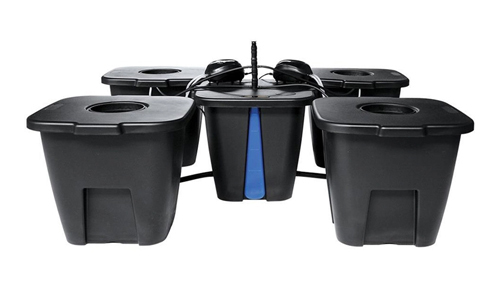
The choice of hydroponic system inside a grow tent is constrained by the tent's footprint, height, and the requirement to service the system during the grow without dismantling the lighting or ventilation setup.
Deep Water Culture (DWC)
Deep water culture suits the tent well. A single reservoir per plant, or a recirculating DWC system connecting multiple reservoirs, fits within standard tent footprints and requires minimal vertical space beyond the plant itself. Maintenance access is straightforward, and the system's simplicity reduces the number of mechanical failure points. For tent grows, DWC is the most practical recirculating option for growers who want the full performance benefits of a true hydroponic system.
Nutrient Film Technique (NFT)
Nutrient film technique works in larger tents where a channel run of adequate length fits within the footprint. NFT produces fast growth rates and efficient nutrient use but requires the channel to be level to within tight tolerances and is sensitive to pump failure, as roots exposed to air without nutrient film dry quickly. It is best suited to experienced growers with a reliable pump backup in place.
Coco Coir in Fabric Pots
Coco coir in fabric pots sits between soil and full hydroponics in management complexity. It drains freely, holds adequate moisture between feeds, and is forgiving of minor feed schedule variations. For growers new to hydroponics, coco coir in a drip or hand-watered system is a lower-risk starting point than a fully recirculating system inside a tent, where a leak has immediate consequences for electrical equipment below.
Run the full system empty for 24 hours before introducing plants. Check temperature and humidity at canopy height, confirm extraction is maintaining negative pressure, verify the light timer is cycling correctly, and confirm the hydroponic system is circulating as designed. Identify and fix any issues before plants are present, problems found during a dry run cost nothing; the same problems found mid-grow cost yield.
Putting the Indoor Grow Tent Setup Together: Sequence and Priorities
Assemble the tent structure before introducing any equipment. Check all zips, inspect the lining, and confirm the hanging bars are level and rated for the combined weight of your light, carbon filter, and fan. Hanging equipment from an unlevel bar creates uneven light distribution and puts asymmetric load on the tent frame.
Install the ventilation system before the light. The carbon filter and fan need to be positioned and secured before the light occupies the central hanging space. Route the ducting out through the tent's designated exhaust port and confirm the connection is airtight before closing the tent. Install the light at the manufacturer's recommended height for the tent footprint and confirm coverage across the full canopy area.
Set up the hydroponic system and confirm there are no leaks before introducing electrical equipment to the floor of the tent. A reservoir or dripper leak discovered after the light timer and pump controller are in place is a more complex problem than one found during a standalone water test. This sequence, tent, ventilation, light, hydroponic system, dry run, prevents the most common setup errors and ensures each component can be tested in isolation before the full system operates together.
Grow Tent Setup: Quick-Reference Equipment Guide
| Component | Specification for 1.2 x 1.2 m Tent | Key Consideration |
|---|---|---|
| Tent Size | 1.2 x 1.2 x 2.0 m | Minimum 2 m height for light clearance and plant training |
| Grow Light | 600W HPS or quality LED (240W actual draw, ≥2.0 μmol/J) | LED reduces heat load and ventilation demand |
| Inline Fan | 200–250 CMH with speed controller | Size for tent volume plus 25–30% resistance allowance |
| Carbon Filter | Matched to fan CMH rating | Mount at highest point inside tent; replace at odour breakthrough |
| Circulation Fan | 1–2 clip-on or oscillating fans | Positioned to move air across and through the canopy |
| Hydroponic System | DWC, NFT, or coco coir in fabric pots | DWC for performance; coco for lower-risk first grow |
Shop Indoor Grow Tent Setup Equipment at Hydro Experts
Hydro Experts supplies everything needed for a complete indoor grow tent setup in Australia, including grow tents, LEDgrow lights and HPS grow lights, inline fans and carbon filters, DWC and NFT hydroponic systems, coco coir and fabric pots, and the nutrients and pH management tools to run them effectively. The full range for beginner tent setups through to large-format multi-light indoor grows is available at hydroexperts.com.au.
FAQs on Indoor Grow Tent Setups in Australia
A 1.2 x 1.2 metre tent with a 2 metre height is the most practical starting point. It accommodates a single mid-range light fixture with adequate coverage, supports four to six plants in a standard hydroponic configuration, and uses ventilation equipment that is straightforward to size and install. It is large enough to produce a meaningful yield and small enough that the environmental variables remain manageable without specialist equipment.
HPS produces proven yields at lower upfront cost but generates significant heat that increases ventilation demands and electricity costs. LED produces comparable yields at 30 to 40 percent lower wattage with less heat output, reducing ventilation load and operating costs over time. For Australian conditions where summer ambient temperatures already stress indoor grow environments, the reduced heat output of quality LED is a practical advantage beyond energy efficiency. Assess LED fixtures by efficiency rating in μmol/J rather than wattage claims alone.
Under continuous operation with relative humidity kept below 70 percent, a quality carbon filter lasts 12 to 18 months. High humidity degrades the activated carbon bed faster. Neglecting the pre-filter sleeve, which catches particulates before they enter the carbon bed, shortens service life by allowing the bed surface to clog. Replace the filter when odour breakthrough becomes detectable rather than on a fixed calendar schedule, and monitor humidity as the primary variable affecting filter longevity.
Deep water culture is the most practical for tent grows. It fits standard footprints, requires minimal vertical space beyond the plant, and has few mechanical components to fail. Coco coir in fabric pots is the lower-risk option for growers new to hydroponics, as it tolerates minor feed schedule variation and a leak does not create the immediate electrical hazard that a recirculating system failure does in an enclosed tent. NFT suits larger tents where channel length is not a constraint and an experienced grower is managing pump reliability.
Hydro Experts supplies grow tents, LED and HPS lighting, inline fans, carbon filters, DWC and NFT hydroponic systems, coco coir, nutrients, and associated equipment for indoor hydroponic grow room setups across Australia. The full range is available at hydroexperts.com.au, with products suited to beginner tent setups through to large-format multi-light indoor grows.