

Tube Heater for Grow Tents: Installation & Ventilation Guide
By Hydro Experts | 6 July 2026
A tube heater is one of the most practical and underused heating solutions for grow tents. Compact, low-profile, and designed for continuous low-level heat output, a tubular heater maintains a stable minimum temperature.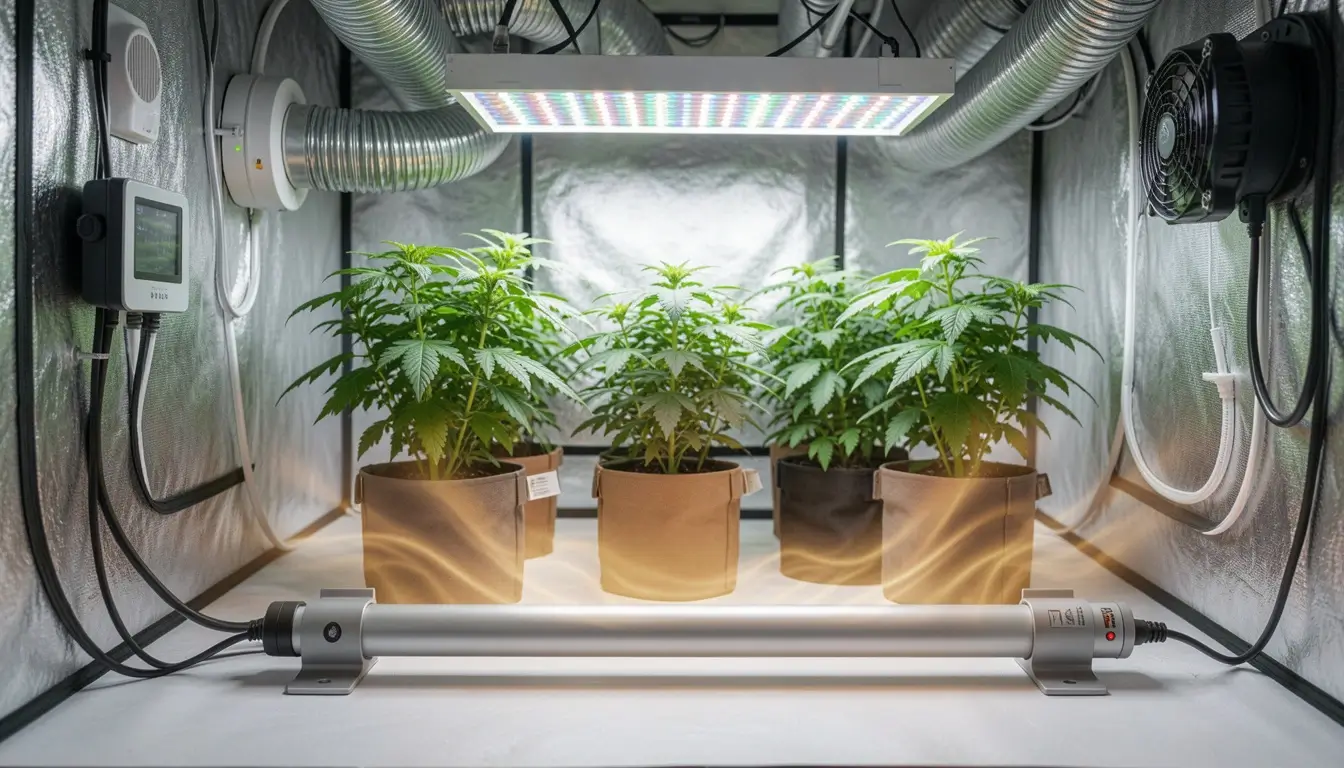
A tube heater is one of the most practical and underused heating solutions for grow tents. Compact, low-profile, and designed for continuous low-level heat output, a tubular heater maintains a stable minimum temperature without the cycling on and off behaviour that higher-wattage fan heaters produce. For growers managing cold ambient conditions, running tents in garages or unheated rooms, or trying to maintain stable overnight temperatures through Australian winters, a tube heater is often the most effective solution for the specific problem it addresses.
This guide covers what tube heaters do, how to install one correctly in a grow tent, where to position it for best results, and how to integrate it with the ventilation system so heat and airflow work together rather than against each other.
Quick Takeaways: Tube Heater for Grow Tents
- Tube heaters provide gentle, consistent heat to maintain stable grow tent temperatures without the large fluctuations common with fan heaters.
- Choose the correct wattage based on your tent size and the surrounding room temperature for efficient heating.
- Install the heater near the tent floor or lower frame with adequate clearance to evenly warm both the air and root zone.
- Always use a thermostat controller to maintain target temperatures and prevent overheating during lights-on periods.
- Coordinate heating with ventilation by reducing exhaust fan speed during lights-off so warm air is not immediately extracted.
- Monitor canopy and root zone temperatures after installation and adjust heater placement, thermostat settings, or fan speed as needed.
- Stable temperatures also stabilise humidity, helping reduce condensation, mould risk, and plant stress.
- Pair your tube heater with quality ventilation equipment for a balanced, energy-efficient grow tent climate.
What a Tube Heater Does and Why It Suits Grow Tents
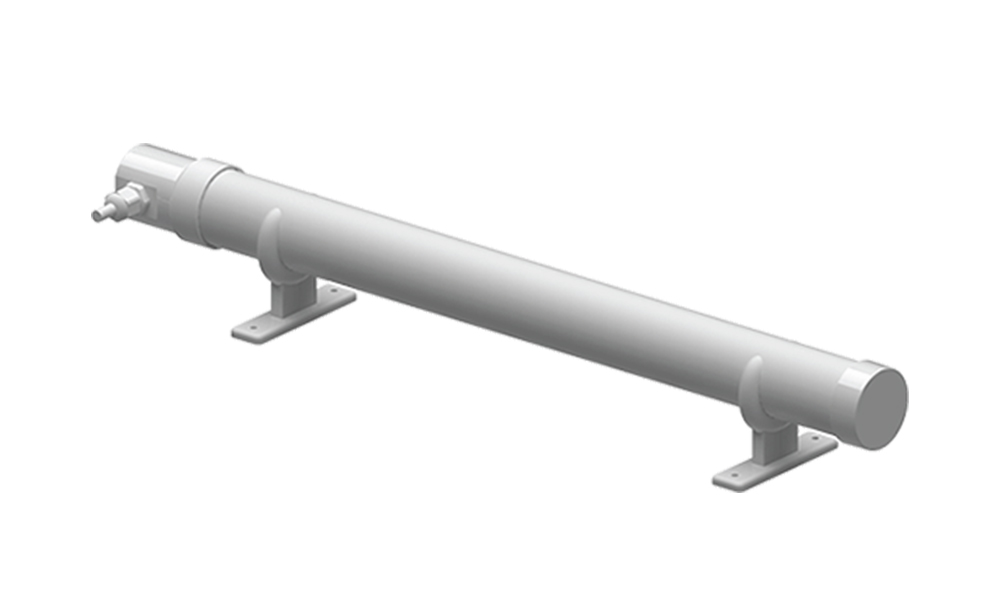
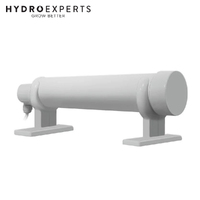
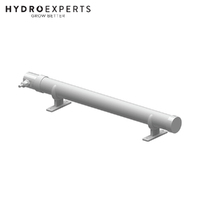
A tubular heater is a cylindrical radiant heating element, typically 60 to 100cm in length, that produces low-level continuous heat output. Standard tube heaters are rated between 60W and 300W depending on length and model. This low-wattage output is the defining characteristic that makes them suited to grow tent applications.
High-wattage fan heaters cycle on at full power, rapidly raise the temperature above the setpoint, switch off, and allow the temperature to drop before cycling on again. This thermal cycling creates the temperature swings that stress plants and cause humidity fluctuations. A tube heater producing 100 to 150W of continuous radiant heat raises the baseline temperature of the tent gradually and maintains it with minimal cycling, producing a stable thermal environment rather than a fluctuating one.
Safety Advantages in an Enclosed Space
The low surface temperature of a tube heater is also a safety advantage in the enclosed environment of a grow tent. Fan heaters produce concentrated heat output that can damage nearby plant material, plastic components, or tent walls if positioned incorrectly. A tube heater's surface runs warm rather than hot, reducing the fire and damage risk in a space where combustible materials are present. Key characteristics include: low wattage output between 60W and 300W for continuous gentle heat, no moving parts making them nearly silent in operation, compatibility with external thermostat controllers for automatic temperature management, and low energy consumption suited to continuous operation.
Selecting the Right Tube Heater for Your Grow Tent
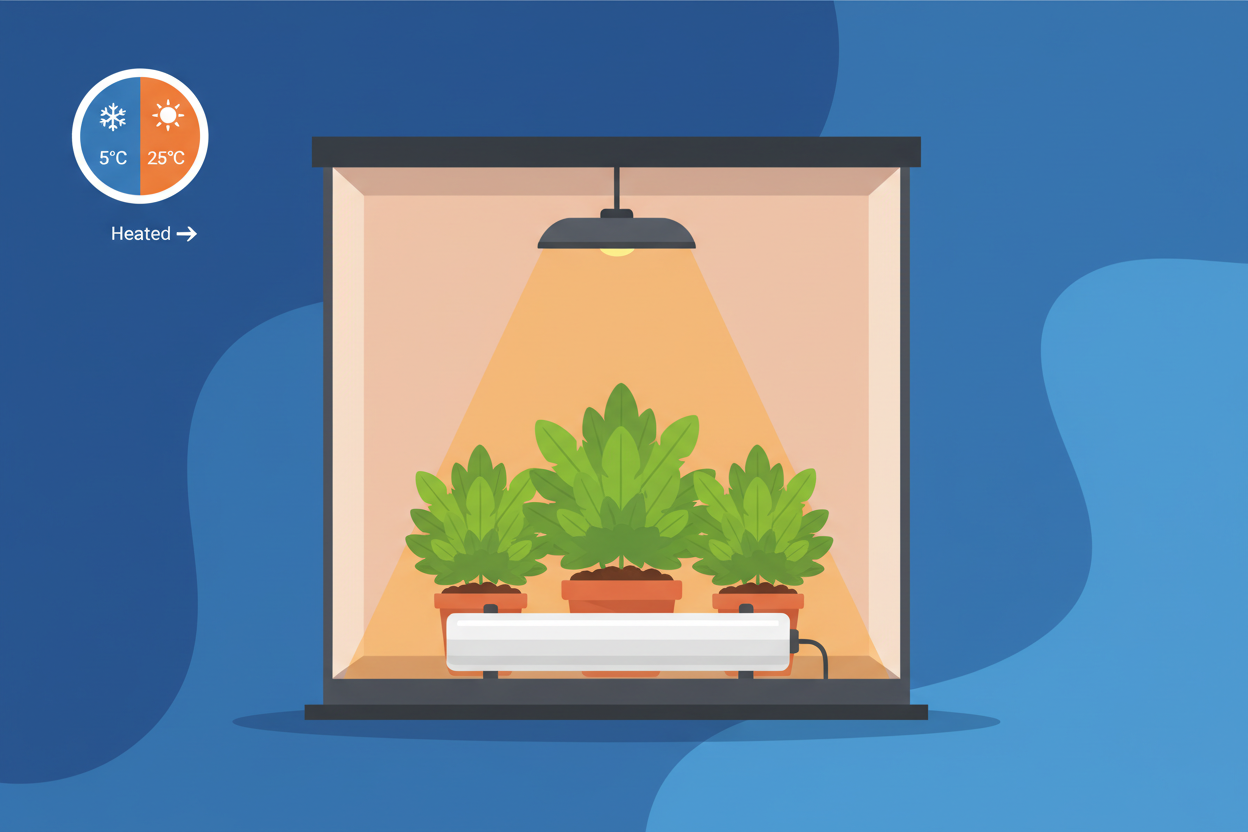
Before installation, selecting the right wattage for the grow tent volume and ambient conditions determines whether the heater achieves and maintains the target temperature. Tube heaters are not designed to raise the temperature dramatically from a very cold starting point, they are designed to maintain a minimum temperature above ambient. The calculation depends on the tent volume and the temperature differential between the target growing temperature and the ambient room temperature in which the tent sits.
Wattage Guide by Tent Size
Small tents up to 0.6m x 0.6m in a room-temperature environment are well served by 60W to 100W for temperature maintenance. Small to medium tents up to 1.2m x 1.2m require 100W to 150W under standard indoor ambient conditions. Medium tents up to 1.5m x 1.5m in a cold, unheated space need 150W to 250W to overcome the larger temperature differential. Large tents above 2.4m x 1.2m or in very cold conditions call for 250W to 300W, potentially supplemented with a second unit or a higher-wattage primary heater. In very cold ambient conditions such as unheated garages in winter, tube heaters may need to be paired with a secondary heating source for the coldest periods.
Thermostat Compatibility
Most tube heaters are compatible with external thermostat controllers through a standard plug-in connection. Select a heater with a straightforward electrical connection that allows an inline thermostat to switch it on and off at set temperatures rather than relying on manual operation. This integration is covered in the ventilation integration section below and is essential for safe, consistent temperature management across lights-on and lights-off periods.
Installation: Step by Step
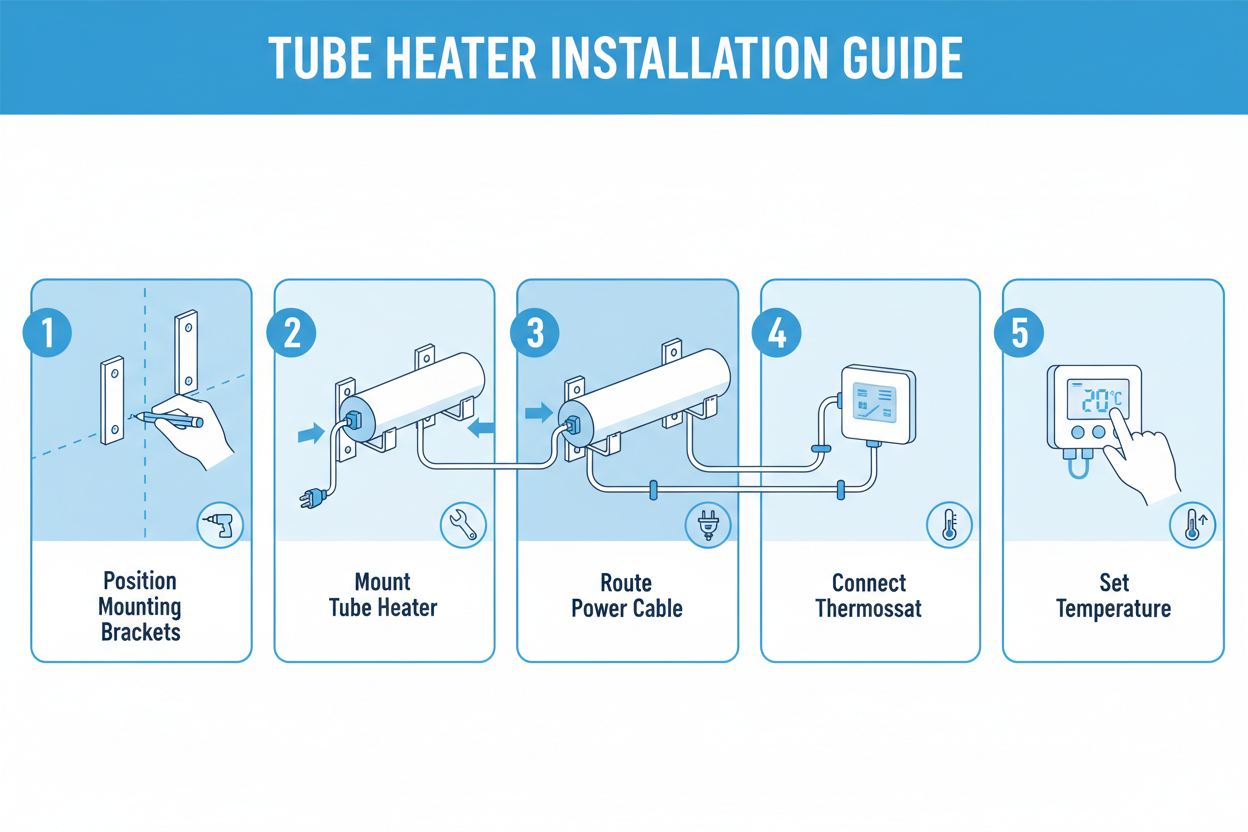
Step 1: Position the Mounting Brackets
Most tube heaters come with adjustable mounting brackets designed to attach the heater to a flat surface or hang it from a horizontal support. Before fixing the brackets, decide on the final heater position using the positioning guidance in the next section. Mark the mounting points and attach the brackets securely to the surface or tent support structure, ensuring they are firmly seated before the heater is clipped in.
Step 2: Mount the Heater
Slide or clip the tube heater into the brackets. Ensure the heater is level and that the brackets are holding it firmly. The heater should have clearance from any surface, tent wall, or plant material of at least 10 to 15 centimetres on all sides. Even at low surface temperatures, direct contact between the heater body and combustible material is not appropriate and should be avoided at every position in the grow cycle as plants develop.
Step 3: Route the Power Cable
Route the heater's power cable along the tent frame or base structure using cable ties or velcro straps to keep it clear of the growing area and away from water sources. The cable should reach the tent's cable port without tension or sharp bends. Do not run the cable under the heater, across the tent floor where it can be stepped on, or in contact with the reservoir or any irrigation components.
Step 4: Connect the Thermostat Controller
Plug the thermostat controller into the power outlet and plug the tube heater into the controller's output socket. Place the temperature probe at canopy level in the centre of the tent, away from the heater body and away from direct airflow from the exhaust fan. The probe location should represent the average temperature of the growing environment, not the warmest or coldest spot in the tent.
Step 5: Set the Temperature Parameters
Set the thermostat's minimum temperature to the target overnight or lights-off temperature for the crop and growth stage. For most crops, this is 18 to 20°C. Set the hysteresis, the temperature differential at which the heater switches off, to 1 to 2 degrees above the minimum. This means the heater switches on at 18°C and switches off at 20°C, maintaining the environment within a 2-degree band rather than cycling continuously through a wider temperature range.
Positioning: Where to Place the Tube Heater in a Grow Tent
Positioning determines how evenly the heat distributes throughout the tent and how effectively it maintains the root zone temperature alongside the air temperature. The two rules that govern good positioning are: heat rises, so start low; and clearance on all sides is non-negotiable regardless of the surface temperature involved.
Along the Tent Floor
The most common and generally most effective position for a tubular heater in a grow tent is along the tent floor, parallel to one of the tent walls. Heat rises, and a heater positioned at floor level distributes warmth upward through the full height of the tent. This position also directly warms the growing medium or reservoir base, which protects the root zone temperature from dropping with the air temperature during the dark period. Position the heater at least 10 to 15 centimetres from the reflective inner walls to allow air circulation around the heater body and prevent heat concentration at one point.
Along the Lower Tent Frame
In tents where floor space is entirely occupied by containers or a reservoir, the tube heater can be mounted horizontally along the lower crossbar of the tent frame, suspended just above the container level. This position delivers heat into the lower canopy and base of the growing space without occupying floor area, and works well in medium to large tents where the frame structure provides a stable horizontal mounting point at the right height.
Never position the heater directly in front of the exhaust fan intake. Heated air drawn out of the tent immediately after the heater produces it wastes energy and prevents the tent from reaching the target temperature, even when the heater runs continuously.
Integrating the Tube Heater with Your Ventilation System
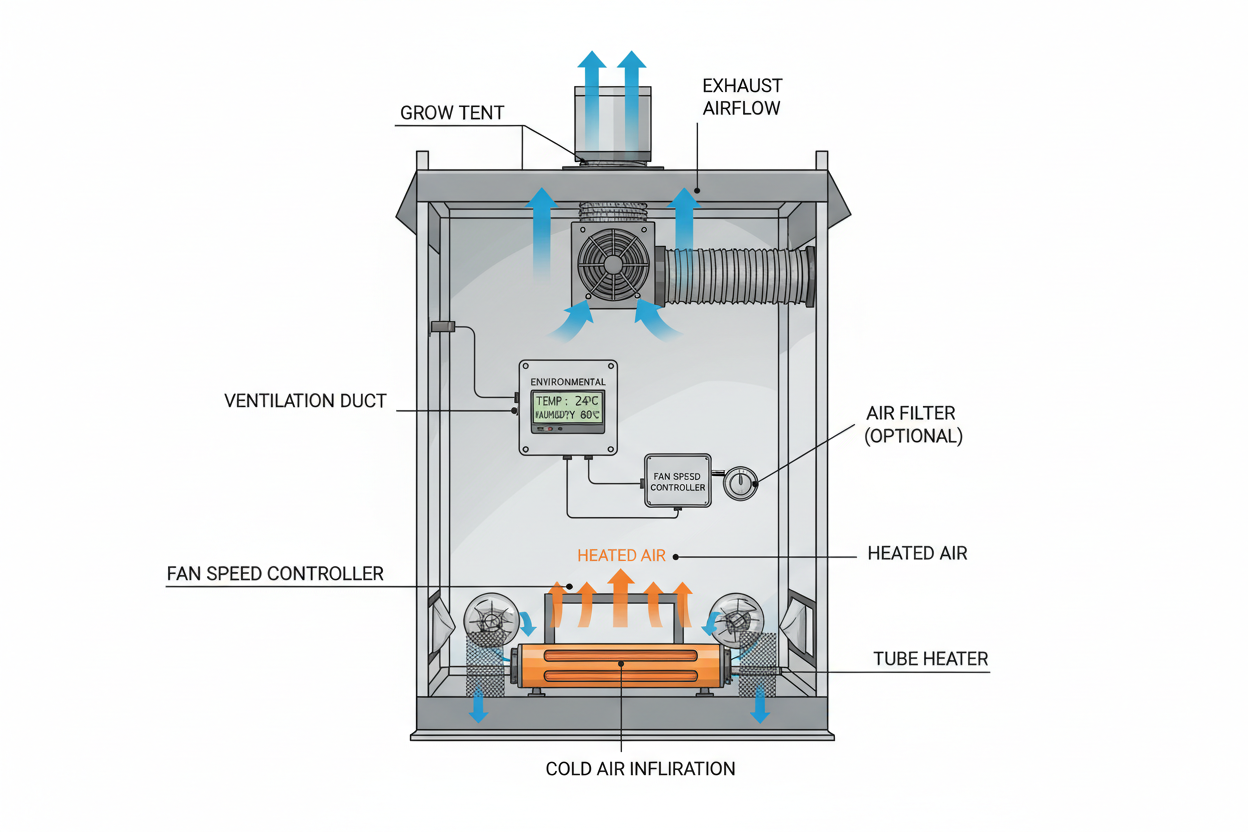
This is where the tube heater setup most commonly goes wrong, and it is the integration that determines whether the heater and ventilation system work together to maintain stable conditions or work against each other. Getting this right is as important as selecting the correct wattage.
The Conflict Between Heating and Extraction
The exhaust fan in a grow tent removes air from the space. If that fan runs at the same speed continuously when the heater is trying to maintain a minimum temperature, it extracts the heated air as fast as the heater produces it. The heater runs almost continuously without achieving the target temperature; energy is wasted, and the temperature remains unstable. The solution is not to turn off the ventilation when the heater is running; ventilation is required for CO2 replenishment, humidity management, and odour control. The solution is to reduce the fan speed during heating periods rather than running it at full extraction capacity.
Using a Speed Controller or Environmental Controller
A fan speed controller that reduces the exhaust fan to 30 to 50 per cent of its maximum speed during the lights-off period, when heater demand is highest and CO2 demand from plants is lowest, allows the heater to maintain the target temperature without being overwhelmed by extraction. The reduced airflow is sufficient for humidity management and air exchange while allowing the heat to build and stabilise. An environmental controller that manages both the fan speed and the heater simultaneously is the most integrated approach, monitoring temperature and humidity in real time and adjusting both the extraction rate and the heating output to maintain target conditions across the full day and night cycle.
Managing Cold Air Infiltration
Grow tents run under slight negative pressure when the exhaust fan is running, which keeps odour from escaping through the tent seams. This negative pressure creates a small but continuous draw of cold air through the tent's passive intake ports. In very cold ambient conditions, this cold air infiltration can counteract the heater's output. Partially closing the passive intake or reducing the fan speed to the minimum level required for adequate air exchange reduces this effect during heating periods. Positioning the tube heater near the passive intake port so that incoming cold air passes over the heater before entering the main growing space is an effective passive approach, the cold intake air is pre-warmed by the heater before it reaches the root zone and lower canopy.
Tube Heater Wattage Selection at a Glance
| Tent Size | Ambient Conditions | Recommended Wattage |
|---|---|---|
| Up to 0.6m x 0.6m | Heated indoor room | 60W – 100W |
| Up to 1.2m x 1.2m | Standard indoor ambient | 100W – 150W |
| Up to 1.5m x 1.5m | Cold or unheated space | 150W – 250W |
| Above 2.4m x 1.2m | Any ambient condition | 250W – 300W |
| Any size | Very cold, below 5°C ambient | 300W + supplementary heater |
Monitoring After Setup
After installation and integration, monitor the temperature at canopy level and at the root zone for the first several nights to verify the system is maintaining the target range. A standalone thermometer and hygrometer placed at canopy level, independent of the thermostat probe, provides a verification reading and allows comparison between the probe reading and the actual conditions the plants are experiencing.
Common Adjustments After Initial Setup
If plants show signs of cold stress despite the heater running, raise the thermostat minimum setpoint. If the heater is running continuously without reaching the setpoint, reduce the fan speed further or consider stepping up to a higher wattage unit. If the thermostat probe is reading higher or lower than the actual canopy temperature, reposition it away from proximity to the heater body or direct fan airflow to obtain a reading that reflects the average growing environment rather than a localised hot or cold spot.
Complete Your Grow Tent Heating Setup with Hydro Experts
Hydro Experts stocks tube heaters, thermostat controllers, fan speed controllers, and environmental controllers suited to building a properly integrated temperature and ventilation management system for grow tents of any size. Visit hydroexperts.com.au to match the right heater wattage and controller combination to your tent size and ambient conditions.
FAQs
Along the tent floor parallel to one wall is the most effective position for most setups. Heat rises from floor level and distributes through the full tent height, warming both the root zone and the air above it. Maintain at least 10 to 15 centimetres of clearance from tent walls, containers, and plant material on all sides. If floor space is fully occupied, mount the heater on the lower tent frame above container level.
Running a tube heater without thermostat control means it operates continuously regardless of the tent temperature. In a tent that generates heat from lighting, this can lead to overheating during the lights-on period. A thermostat controller, either built into the heater or as a separate inline unit, is the minimum requirement for safe and effective temperature management. Hydro Experts carries compatible thermostat controllers for standard tube heater connections.
Yes, positively in most cases. The primary humidity risk in grow tents is the overnight temperature drop that causes relative humidity to spike as the air's moisture-holding capacity decreases with temperature. A tube heater that maintains a minimum temperature during the dark period prevents this spike by keeping the air warm enough to hold the moisture present without pushing relative humidity to problematic levels. Stable temperature produces stable humidity.
Reduce the exhaust fan speed during heating periods, typically the lights-off phase, using a fan speed controller or environmental controller. Running the fan at 30 to 50 percent of maximum speed during the dark period allows the heater to maintain the target temperature while still providing adequate air exchange for humidity management. An environmental controller that adjusts fan speed in response to temperature manages this automatically without manual intervention.
For small tents up to 1.2m x 1.2m in a standard indoor environment, 100W to 150W is sufficient for temperature maintenance. For medium tents up to 1.5m x 1.5m or setups in cold unheated spaces like garages, 150W to 250W is more appropriate. Tube heaters are temperature maintenance tools rather than primary heat sources. In very cold ambient conditions below 5°C, a higher-wattage supplementary heater may be needed alongside the tube heater for the coldest periods.